This nutritious post was provided by The Chester County Hospital and Health System. To learn more about nutrition services, visit us online. >>
—

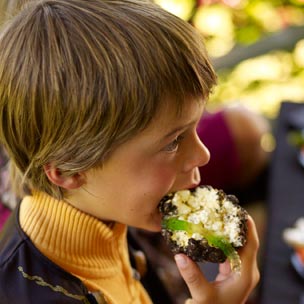
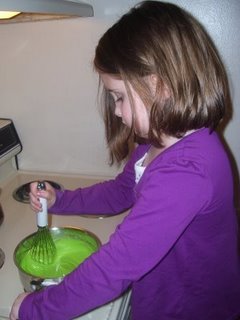
March is National Nutrition Month – what better time to get your kiddos helping out in the kitchen? They’ll learn how to help prepare their own foods while you teach them healthy habits in the process. Your children’s efforts may even turn into a new love of healthier foods that they help create. Read on for age-appropriate tips, interactive food fun and a chance to win a pair of tickets to a healthy cooking class (this one’s just for you, mom!).
Get Cooking
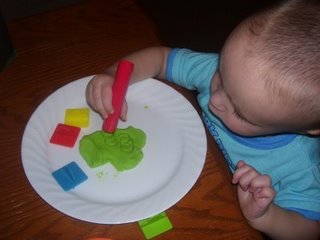
Even the youngest of tots can start learning in the kitchen by naming different foods or counting fruits and veggies. The sooner you get your kids in the kitchen, the sooner they’ll move into the more advanced tasks (saving you some precious food prep time). Who knows, maybe they’ll cook dinners for you when they reach their teen years? Well…let’s not be too hopeful.
Kim Knipe, Coordinator for Community Nutrition and Outreach at The Chester County Hospital, shares these tips to make your under-foot distraction your newest little chef:
Chef-in-Training
-
Gather ingredients
-
Talk about favorite foods
-
Help put away groceries
-
Count ingredients along with you (1 egg, 2 eggs…)
-
Tear salad greens into bite-sized pieces
-
Empty your trash bowl into the big trash can
Chef’s Helper
-
Peel bananas
-
Wash veggies
-
Set the table
-
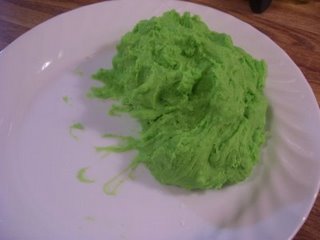
Mix ingredients
-
Pour ingredients into a bowl
-
Open packages
Sous Chef
-
Make salads for family dinner
-
Slice soft foods with a butter knife
-
Measure ingredients
-
Crack eggs (and wash hands afterwards!)
-
Preheat the oven (with guidance)
-
Line and fill muffin tins
Of course, remind kids to wash their hands before and after helping in the kitchen so the habit begins to form at a young age. And always supervise your child if they are old enough to handle a knife during food preparation.
If you find that your kids aren’t interested in these tasks, ask them what they’d like to do to help. They may be quick to mention things you would never think of. At a certain age, Kim says her daughters loved to pour drinks for family dinner. Who knew? Ask and you shall receive…pour on!
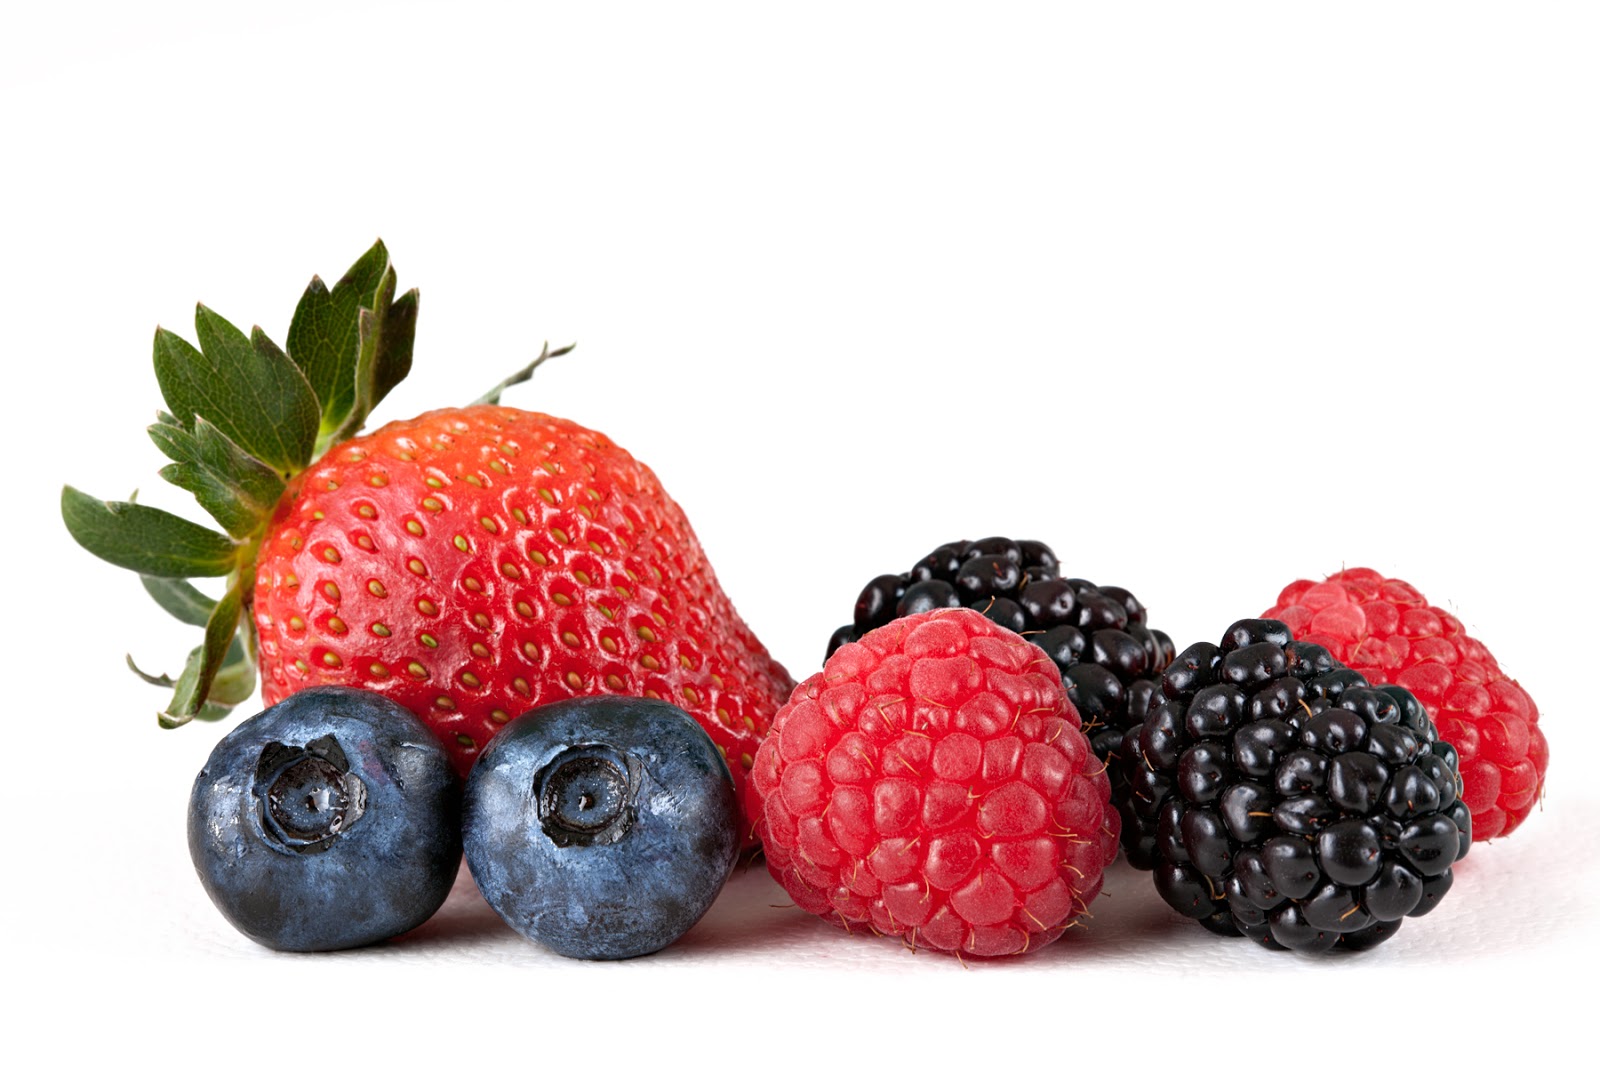
“While you prepare food together, be sure to share healthy tips like why fruits and veggies are so good for them and why it’s important to choose whole grains,” Kim shares. “You might not think they’re listening, but they are and some of it will stick!”
Fun Food for Thought
Test your child’s food knowledge with these fun games from the Academy of Nutrition and Dietetics. From portion sizes to word searches, these games pack some fun into Nutrition Month.
If you’re looking for healthy recipes or new motivation to bump up your nutrition, spend some time surfing The Chester County Hospital’s Pinterest. We’re adding new pins each day during Nutrition Month to help you eat more healthfully all year long.
Want Cooking Help? Enter to Win!
 We’ve teamed up with Cooking Spotlight of Phoenixville to give away a pair of tickets to the “Welcome Spring with Delicious Recipes” Cooking Class. Want to enter for a chance to win? We’re giving you four opportunities! Enter here by liking The Chester County Hospital’s Facebook page by March 29, and you and a friend could be enjoying a hands-on, fun-filled evening with refreshing and invigorating recipes to welcome in spring. Be sure to check out WC Dish for more foodie fun and restaurant news, too.
Celebrate Nutrition Month by trying new recipes and having your kids accompany you in the kitchen. Now…get cooking!
—

Join us on Facebook, Twitter (@cchosp) and Pinterest, or visit us online at ChesterCountyHospital.org.