When I watch HGTV and see those beautiful glass and stainless kitchens, I am in awe. Not because I want one, but because I want to know how to cook in one of those pristine shiny environments. They are always equipped with state of the art appliances, so they are supposed to be used, right? This modern wonderland of silver, black, and white leaves me to assume that these people never eat spaghetti, and they could not possibly have kids under the age of 20! Where are the splatters, the fingerprints, the streaks, and the drips? Clearly they either subsist on ultra-chic take out sushi, or their cleaning lady is a goddess.
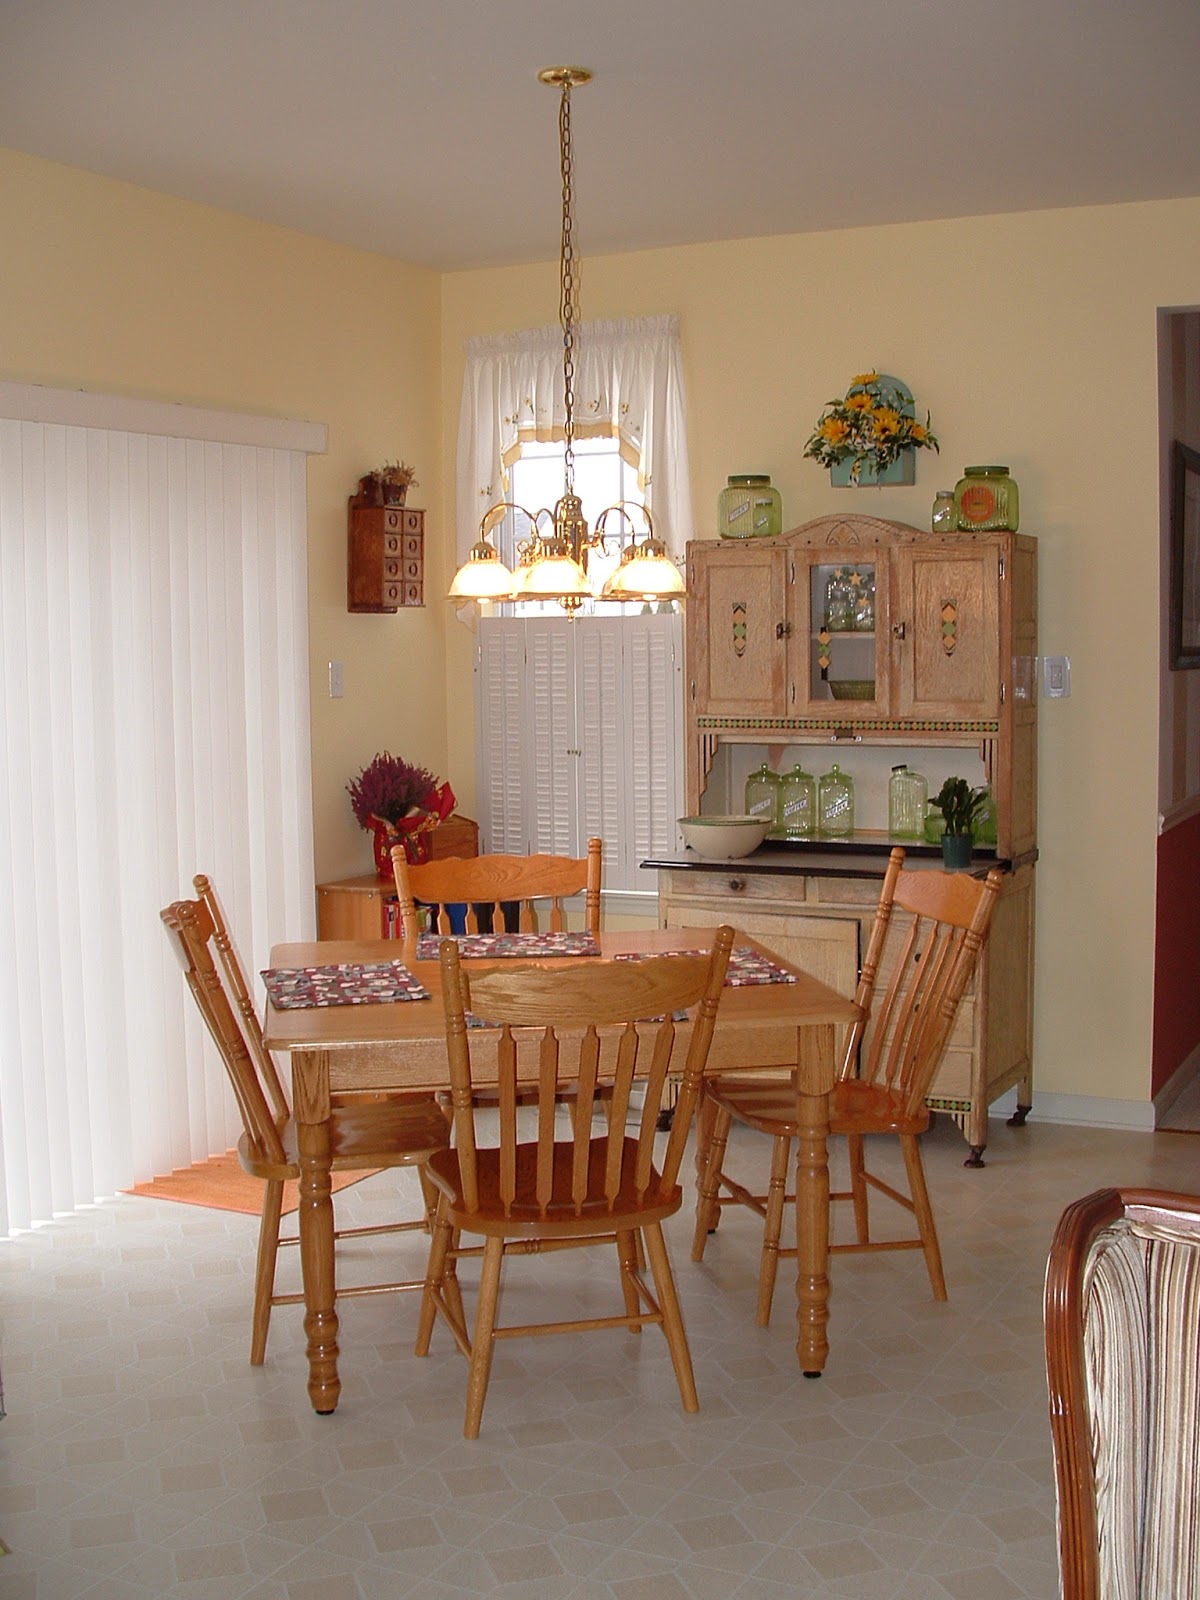
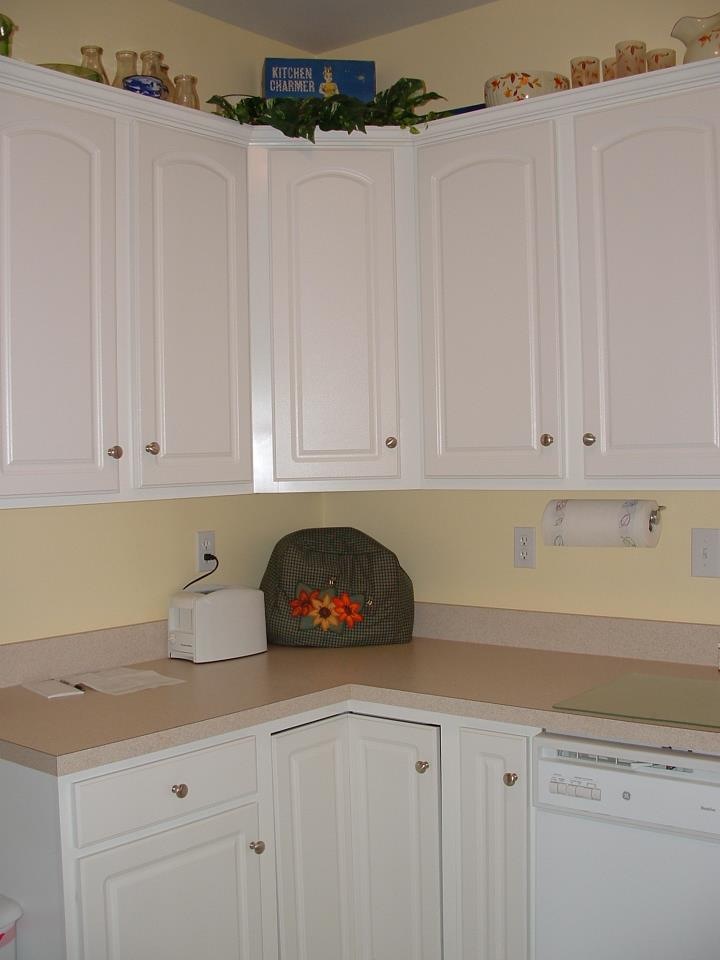
In my reality, I bought a house with white kitchen cabinets, white floors, pale yellow walls, and very light counter tops. This should have been a deal breaker for me, as I am a messy cook, and I have messy kids, but I loved the rest of the house. Another hang-up was leaving my 150 year old house in the borough of West Chester, to move to a 4 year old house in a neighborhood. I felt as if my new house lacked a certain coziness that I needed to feel at home. Luckily, nothing a little paint couldn’t fix.
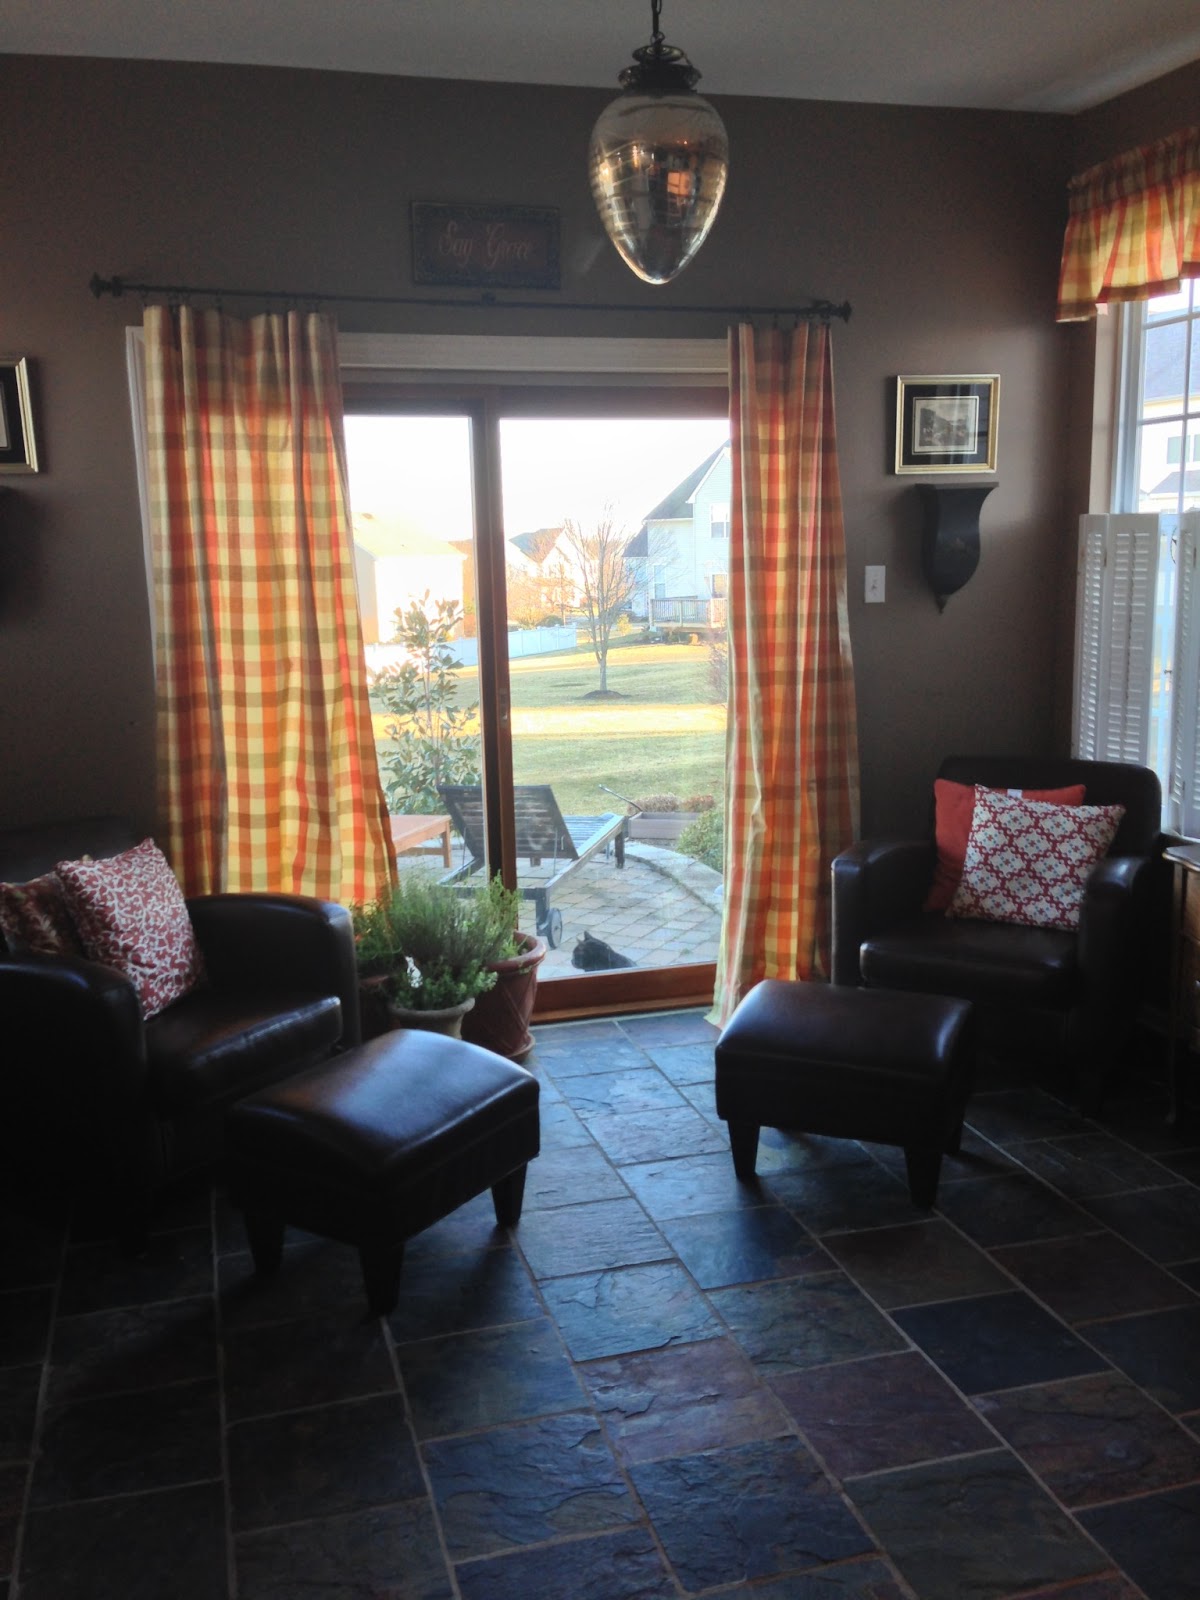
We painted the walls brown and were very happy with the results. Success! But the white floor almost killed me. With 2 kids and another on the way, my husband and I were going nuts trying to keep it clean. The budget was tight, so we opted for self-stick laminate tiles in a nice dirt-colored brown. Success again!! It was a nice kitchen, not my dream, but very nice.
Over the years, the cabinets started to fall apart. While the basic structure was sound, the white thermofoil coating was starting to peel and pop off. Sadly, our warranty had expired, so I was at a loss. I now had some white cabinets, and some brown where the white had literally popped off like a shell. Add to that the discovery of a silent leak at our sliding glass door, which left the door frame and subfloor rotten. My kitchen was starting to look pretty pathetic. It was time for a remodel.
Now, my husband is not a handy man. While he is a great father and husband, he cannot and should not be trusted with tools (past experiences resulted in emergency medical attention). Our budget was modest. We did not have the funds to cover a full kitchen remodel. Here is where some creativity and elbow grease came into play. We HAD to replace the door. A little informed shopping helped us to find a great door without blowing the whole budget. We also HAD to replace the floor. Thanks to the help of a great contractor, we selected a gorgeous slate floor, which was a ridiculous bargain!
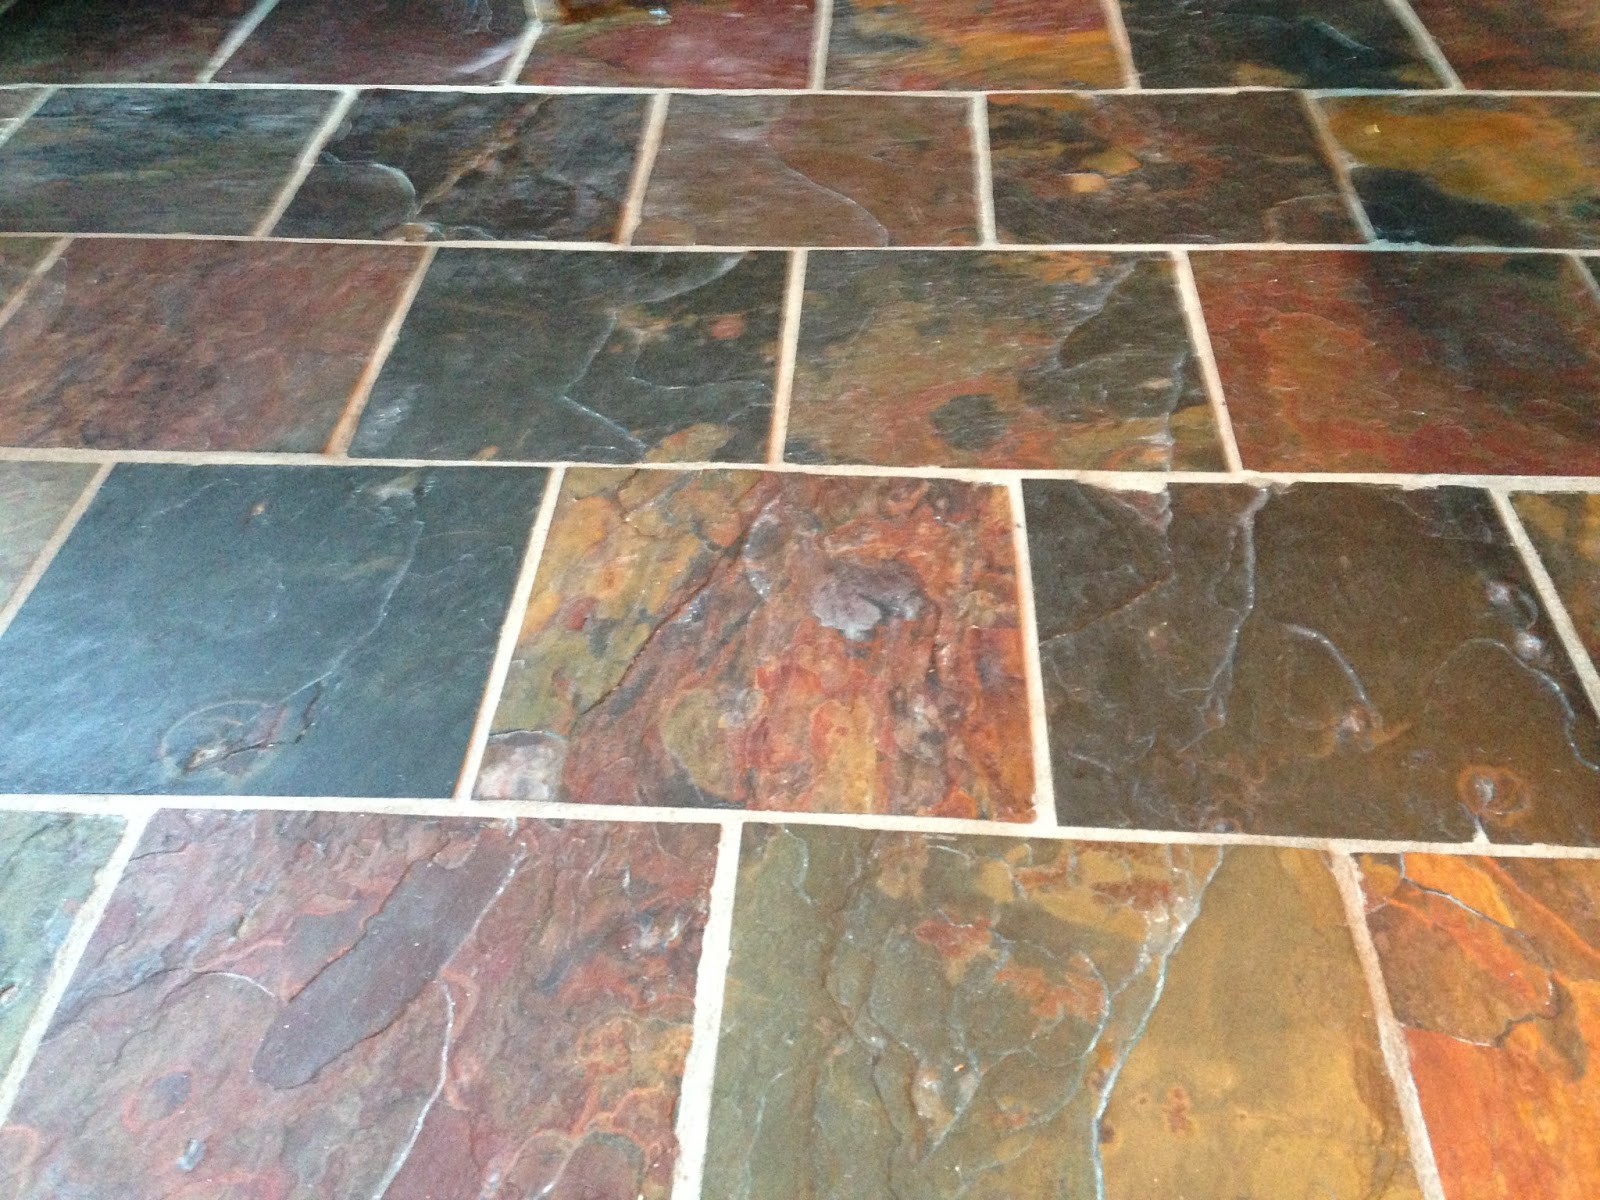
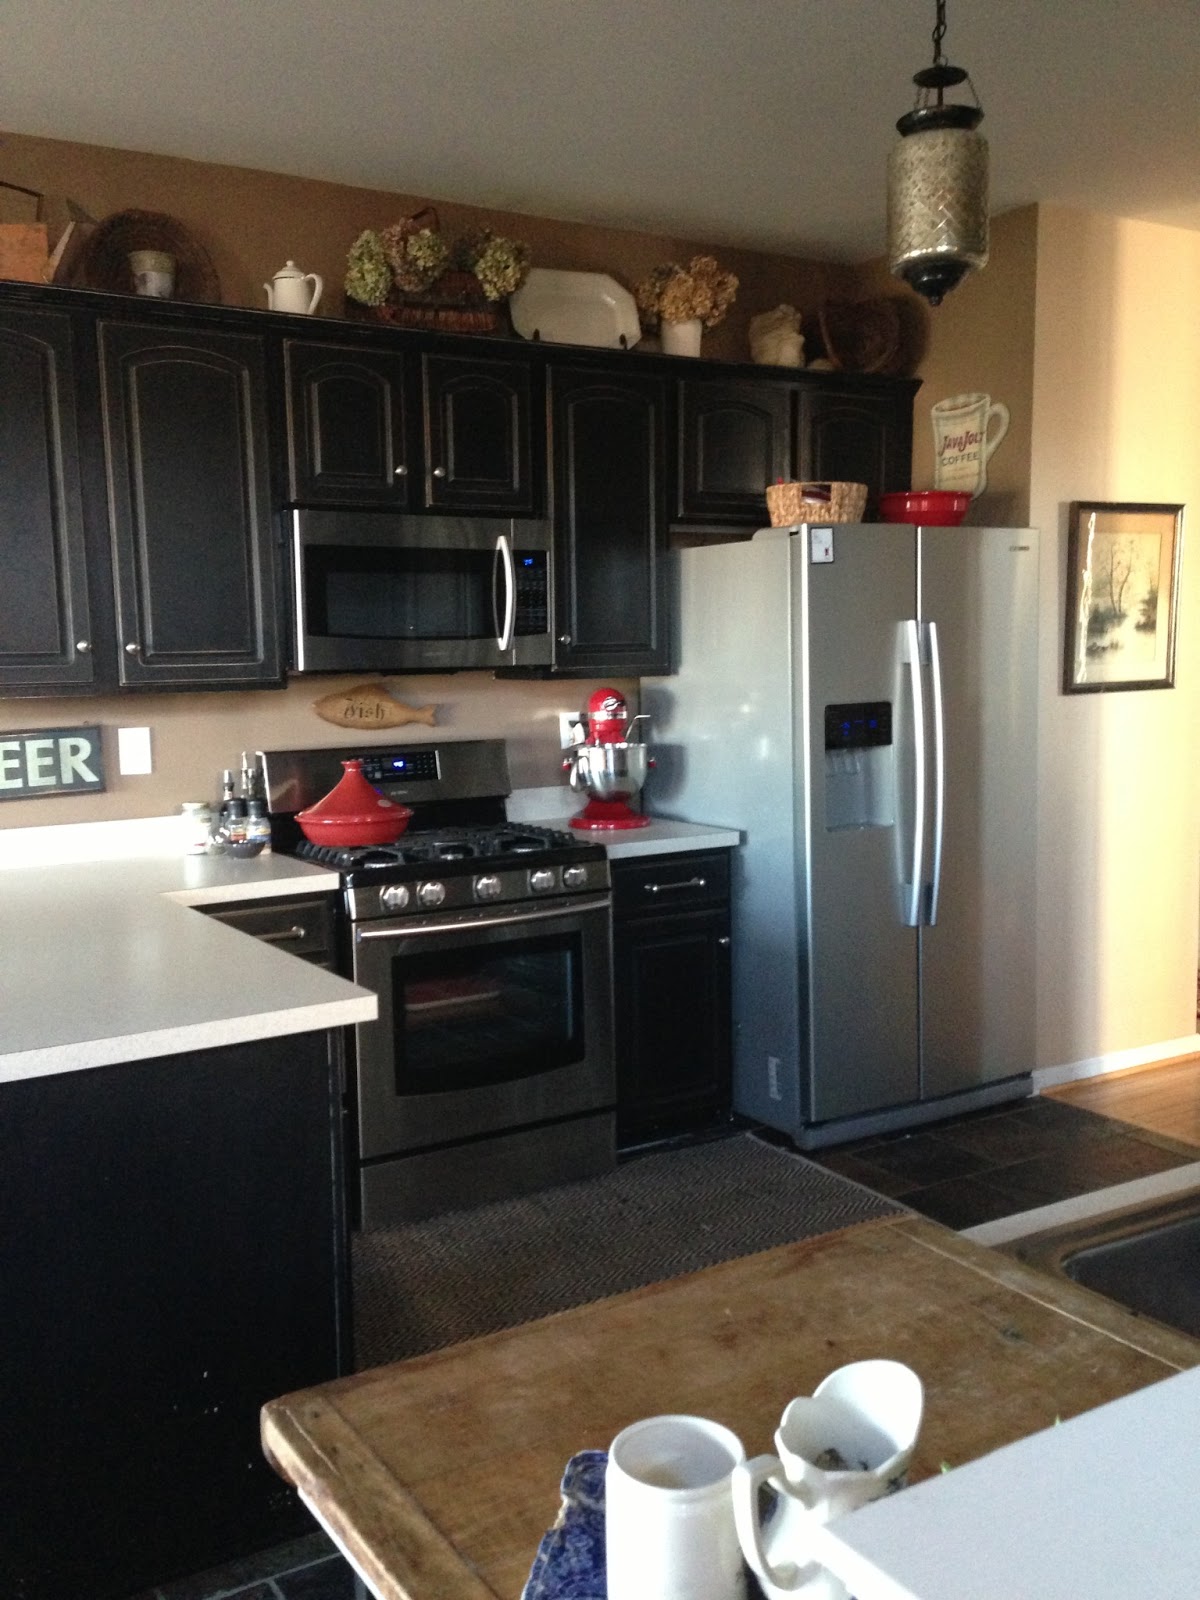
Seriously, the real slate was cheaper than its faux laminate counterpart! We were on our way to something beautiful, except for the awful two-tone cabinets. My only option was to paint them. I scoured Pinterest for tips, directions, and ideas. After a lengthy search and the discovery of my inspiration kitchen, I thought I was settled on a cream color with a tobacco distressed finish, but somehow I landed on black. YUP, I painted my formerly white cabinets black, and I am still alive to tell about it… Dare I say it was EASY??? (I have included steps at the end.) The result was beyond my wildest dreams. I finally felt as if I had captured a little piece of my old house, and my kitchen felt unique, which is hard in a neighborhood where several friends have the same model. It felt cozy, and chic. Plus, the distressed finish wouldn’t show anything!
When my contractor arrived on Monday morning, he was shocked and impressed. He had no idea what we had planned. According to him, they looked like $40,000 custom cabinets. Ultimate success!!!
In the end, I LOVE my kitchen. It was worth every dime! We replaced the remaining white appliances with stainless over the next few months, as they died in their own time. This spring, when my contractor finishes up his latest job, we will replace the countertops and sink.
So, with a little patience, creativity, and a modest budget, I was able to transform my pathetic aging kitchen into something I would proudly pin on Pinterest. Look out people of HGTV. I have black, I have modern, I have stainless, but I also have the ability to cook spaghetti and raise three young kids with my sanity intact. No sushi takeout necessary!


Tips for Staying Sane, & Out of the Poorhouse:
~ Look for inspiration pictures. If you have a visual of what you want, you are more likely to stay on track.
~ Be informed and shop around. I basically got my brand name door for half price because I bought it at a big box store that could discount it deeply because they buy in bulk. I also purchased my tile there. It was 1/5 the cost at a tile distributor.
~ Talk to your contractor to see how you can save. We purchased and picked up all of the materials, including the door, and saved a few hundred dollars!!
~ Shop around and negotiate. I was able to replace all of my light fixtures for under $50 because I bought the displays of discontinued models. (original prices totaled $430)
~ Be patient. We replaced our dishwasher in this remodel because we found a great deal on the model we wanted, but waited 4 months to replace the stove and microwave when they died. It was nice to take the time and decide what I really wanted, and wait for a great sale.
~ Don’t forget places like IKEA. They have great storage and kitchen remodeling products. (My $1400 farmhouse sink is only $299 at IKEA)
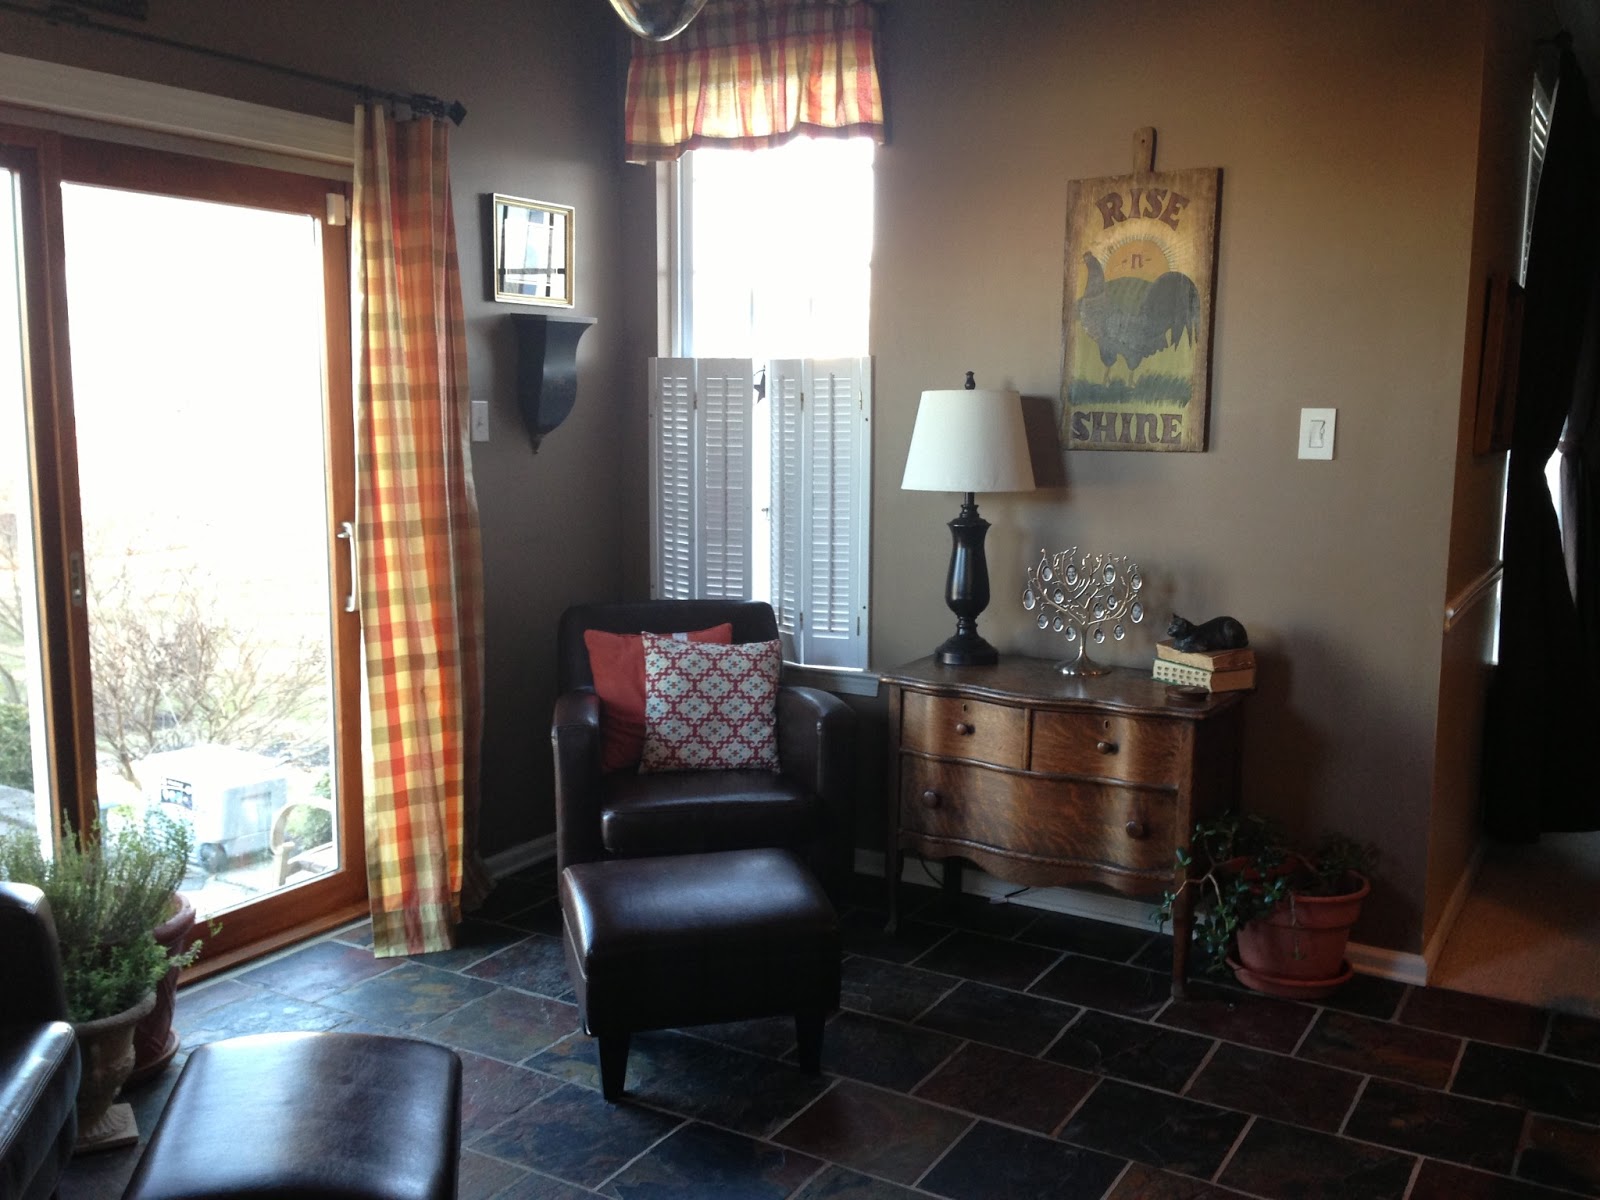
~ Rethink your spaces. I was able to maximize the space of my house by moving my kitchen table to the adjacent living room and putting a set of leather chairs in my kitchen, creating a conversation area. I appreciate this new use of space daily, and it has really unified my house. It has become my mommy space.
~ Be brave. Don’t shy away from what you really want because you are afraid. I admit that I had a moment of panic when I stood above my cabinet doors with a black paintbrush. Dig down deep and find your bravery! You will thank yourself in the end.
The Process:
We completed this work in one weekend, before the contractor started any of his work. That way, we didn’t have to worry about protecting the new floor. We emptied all of the cabinets. We removed the doors and drawers, and laid them on tables on the patio (use drop cloths).
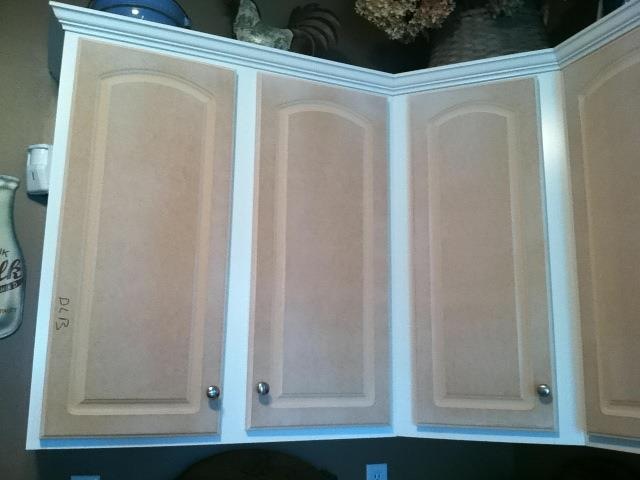
Do not work in full sun. We peeled any remaining thermofoil off the cabinet and drawer fronts, leaving the MDF board exposed. We left the white paint on the interior of the doors and the bases of the cabinets.
Next, we purchased an industrial cleaner from the hardware store to remove any grease or residue. (you must do this for the paint to adhere) Clean the doors, drawers, and bases well. Then we used liquid sandpaper over all of the surfaces to rough up the shiny finish. This also helps the paint to adhere. Use high gloss exterior paint. Don’t worry about the finish. If you don’t want shiny, the distressing will take care of that. I was told high gloss is more durable. My cabinets are NOT shiny. We used black. You also need a small roller made specifically for cabinets and doors. This is a HUGE time saver. Buy a few of the roller replacements. You will need them. I painted the doors and drawers, while my husband painted the bases. This tag team approach saved a lot of time and made the job manageable. Once I painted two coats, and allowed it to dry completely, I used two different grits of fine sandpaper to distress the edges of the cabinet doors and the areas around the knobs. and the molding on the bases. Don’t go overboard. Think of where the edges would have gotten the most wear if this cabinet had been there for over 100 years. Also, be sure to go over the whole surface lightly, so you don’t have dull spots and shiny spots. Wipe clean with a damp cloth. Finally, I used a brown faux glaze over all of the cabinets and bases to give it a finished look. I applied it with a clean cotton cloth, wiping the entire surface and rubbing it into the distressed areas. We also decided to replace the hardware.
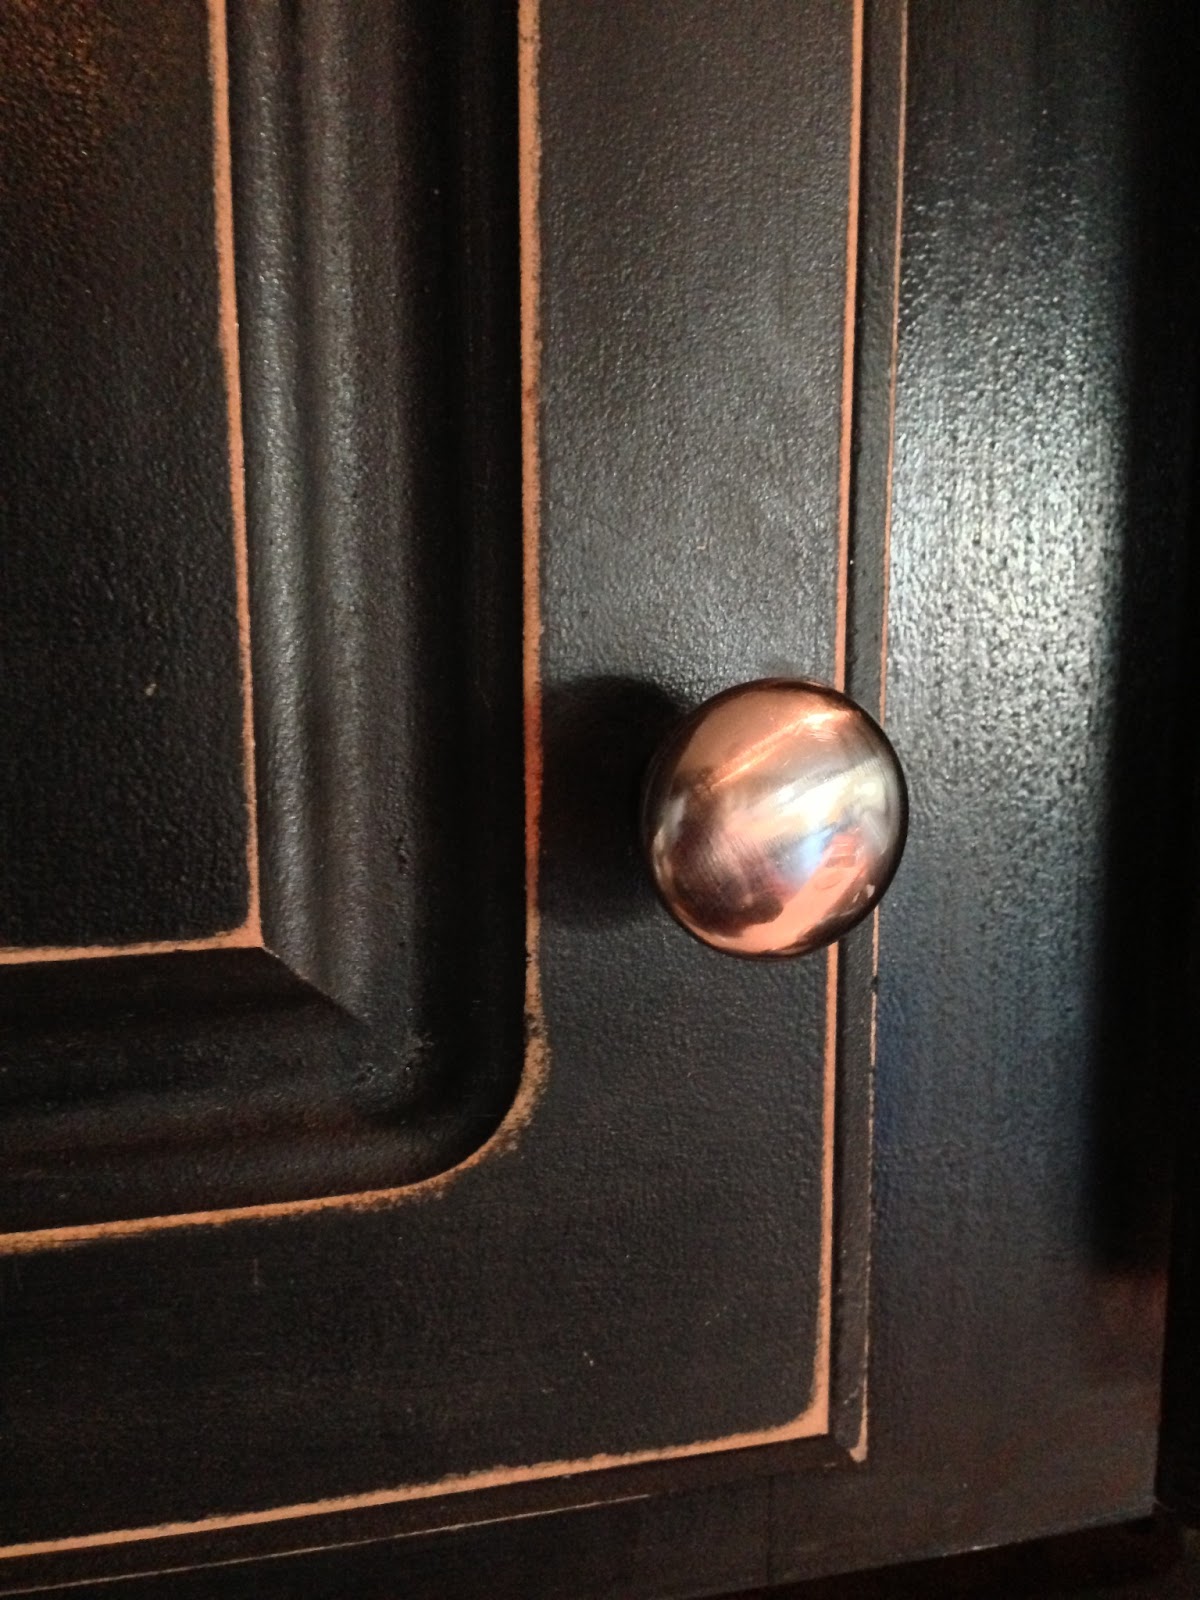
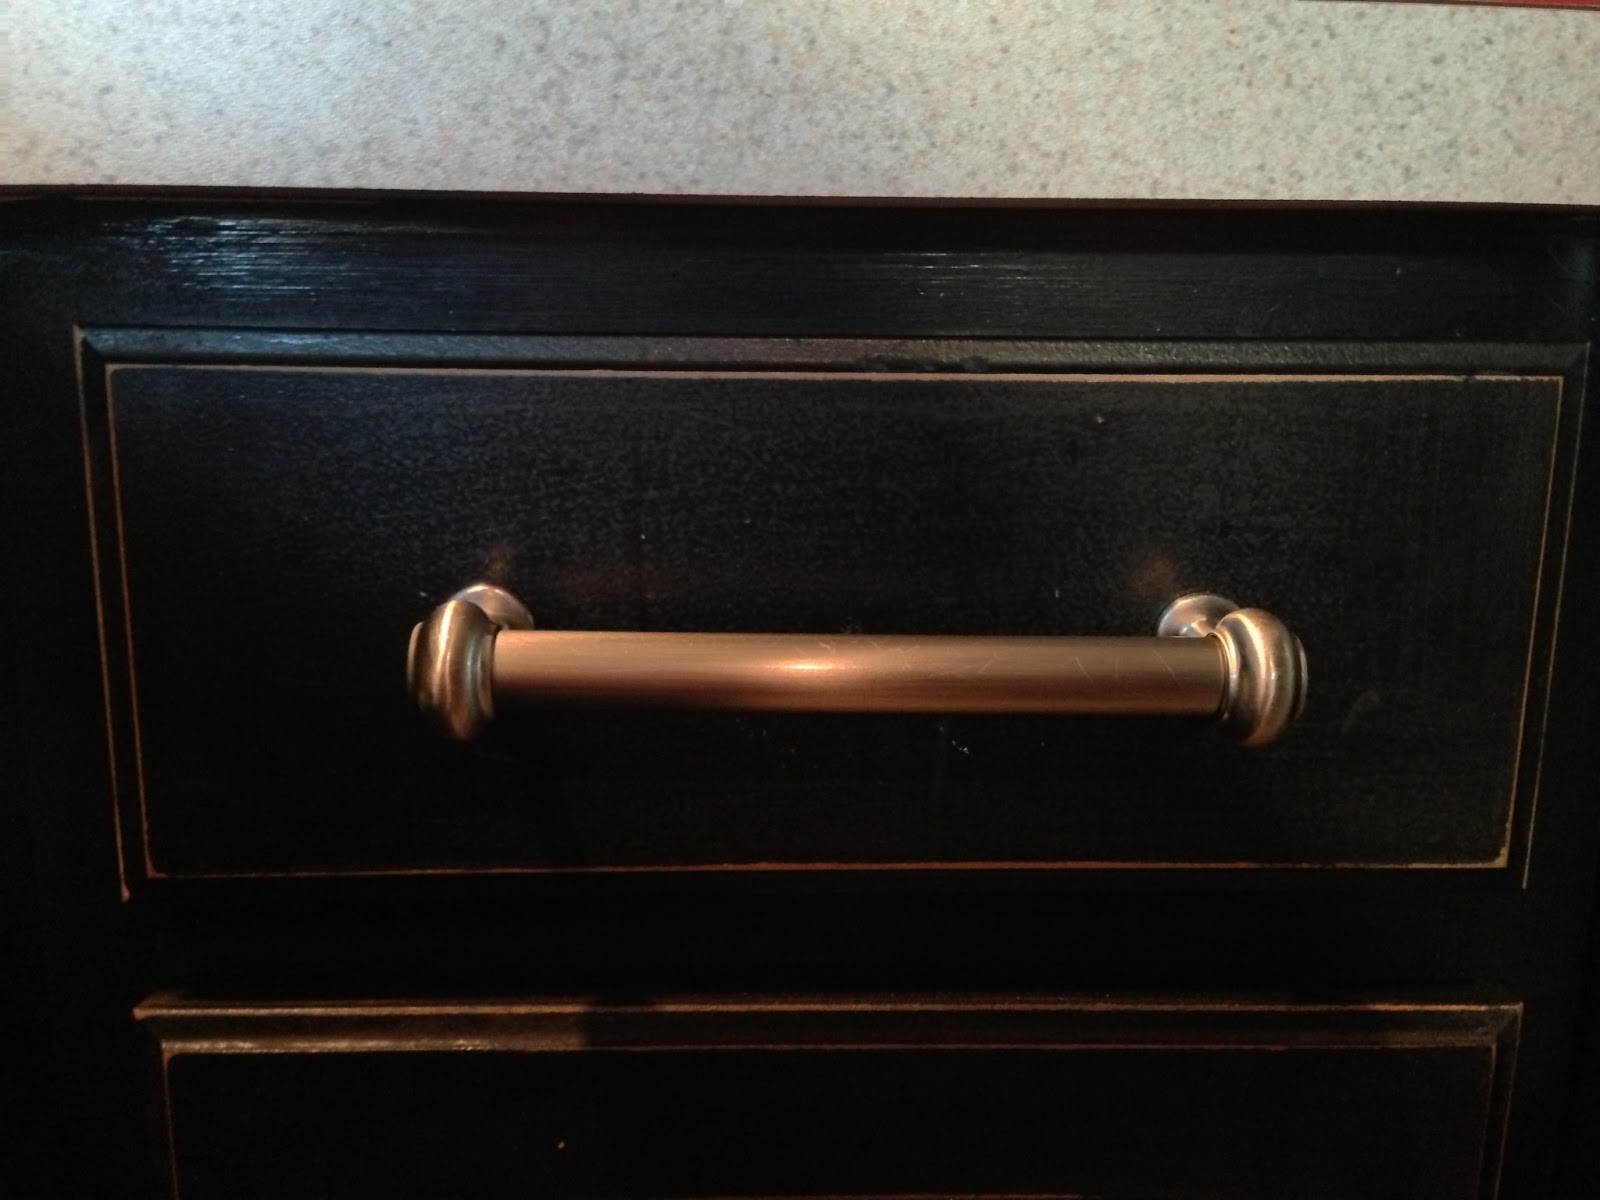
Check out IKEA. They had beautiful hardware that was a fraction of the cost compared to many other retailers. (Total cost of handles was $21 while some places were $20 per handle!!!) Once the hardware is in place, re-hang your doors and put back the drawers. *** We left the interiors of our cabinets white. I got the wise idea to spray paint them beige, but ended up almost asphyxiating my husband who was painting nearby. Oops… I feel that white inside my cabinets is better than being a widow.
Good luck, be creative, and have faith. You can do this!! If you have questions about this project please contact Kelly at Fabulous Food Fairy Blog.

Kelly is the brave DIY’er behind this kitchen reno and the Mom behind the Fabulous Food Fairy Blog. While she is not a professionally trained chef, She is a kid tested mother of three, who teaches full time, and still manages to cook a sit down family meal most nights of the week. She says that many days, she wishes for a magic wand or a fairy godmother to pop in and make a beautiful dinner appear, but no such luck. Kelly realizes that sometimes the hardest part of dinner is figuring out a meal that her kids will actually eat. She created The Fabulous Food Fairy so that readers won’t feel hopeless about dinner, or so that busy moms are not forced to resort to the local drive through or a boring bowl of cereal as a meal. Family dinner can be so much more. Kelly also feels that dinners together are fundamental to raising and maintaining a healthy, balanced family.
The Fabulous Food Dairy blog shares a variety of tried and true recipes for a multitude of kitchen needs, from a kid friendly casserole, to a mom friendly cocktail! It is like having a group of best foodie friends at your fingertips. As the Fabulous Food Fairy, Kelly aims to grant your kitchen wishes and transfer your dull weekly menu into a magical moment of family fun!
Follow the Fabulous Food Fairy on Facebook and Twitter for yummy recipes and foodie tips. Check out her Lasagna Muffins recipe.. A-MA-ZING!