
I, like many of you, have always turned to the frozen food aisle for the a weekly dinner: Pizza. Frozen pizza is easy, quick and reliable. Hubby and I had started to find that while the frozen pizza’s we were buying were okay, they weren’t great. No frozen pizza will be like the greasy goodness you can get from a local pizza shop. It’s so easy to undercook or overcook. And between texture and tastes, the sauce or crust just never measures up.
Not long ago, I came across an article on Vegetarian Times Magazine about parbaking pizza crust and making homemade pizza. Mario Batali shared how he pre-baked (i.e.: par baked) homemade pizza dough to make his crust, and it makes all the difference.
I wasn’t quite ready to take the plunge with homemade dough, nor did I have a stone-fired oven. But I was sick enough of what the frozen pizza section had to offer, that I was happy to try something different. So, Hubby and I took stock of some ingredients, utilizing fresh pizza dough from my local Giant’s deli/take home section (did you even know you could get fresh pizza dough at the grocery store?!? Well guess what. YOU CAN), and gave it a try one night.
Let me tell you this: I will never be able to eat frozen pizza again.
Parbaking the crust was way easier than I thought it would be, and the result is amazing. It is not quite like the local pizza shop, but it’s pretty darn close. And it blows any frozen pizza out of the water. WAY out of the water.
Bonus: It’s totally frugal to make your own pizza. Don’t believe me? Here is the break down:
$7 (anywhere between $4 and $10)
2-cup Bag of shredded Mozzarella Cheese – $3
14-oz Jar of Pizza Sauce – $2
1 lb ball of Pizza Dough – $1.50
You might be looking at those prices and say, “Steph, they are roughly the same price.” What you fail to see is that the bag of Mozzarella Cheese will make 2 pizza’s, and the jar of pizza sauce will make about 3. So with my rudimentary mathematic estimation, you can make a homemade pizza for around $3.
We’ve been making our homemade pizza once a week, trying different toppings, and gobbling it up. Here is the recipe. Don’t be intimidated by parbaking. As long as you can spare 5 minutes and a large skillet or cast iron pan, you’ll be fine!
- 1 16-oz ball of pizza dough (I prefer fresh)
- 1 cup of shredded mozzarella cheese (more or less to your liking)
- 1/4-1/2 cup of pizza sauce (more or less to your liking)
- Assorted topics (I like chopped green olives!)
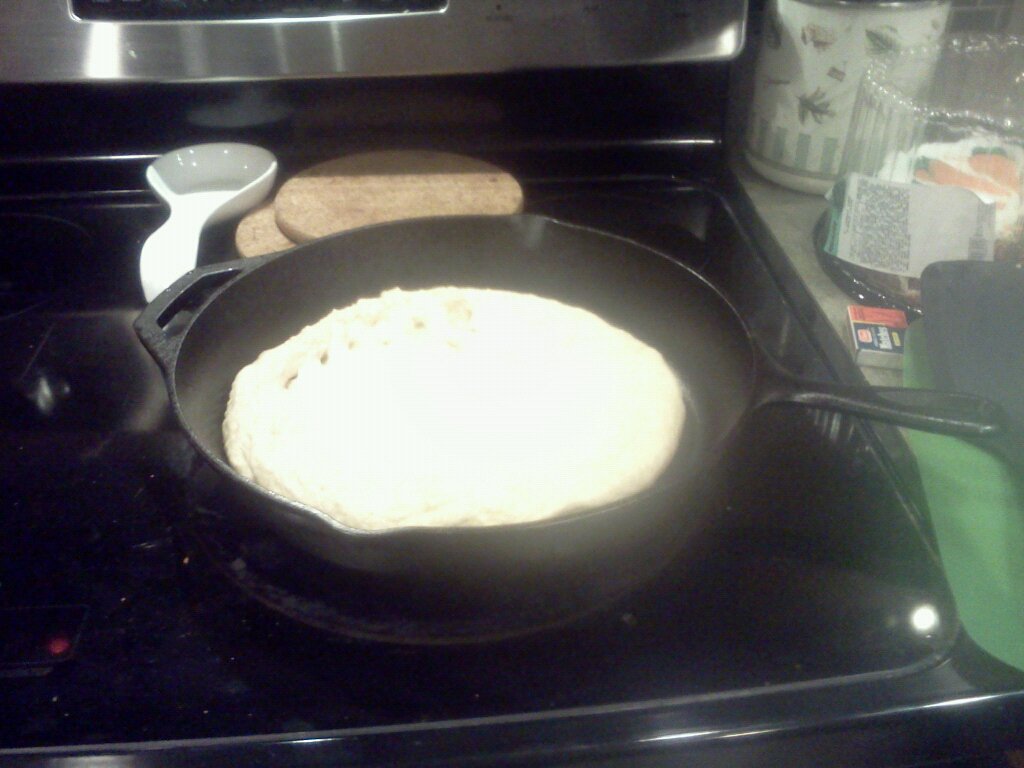 |
| Dough in the heated pan |
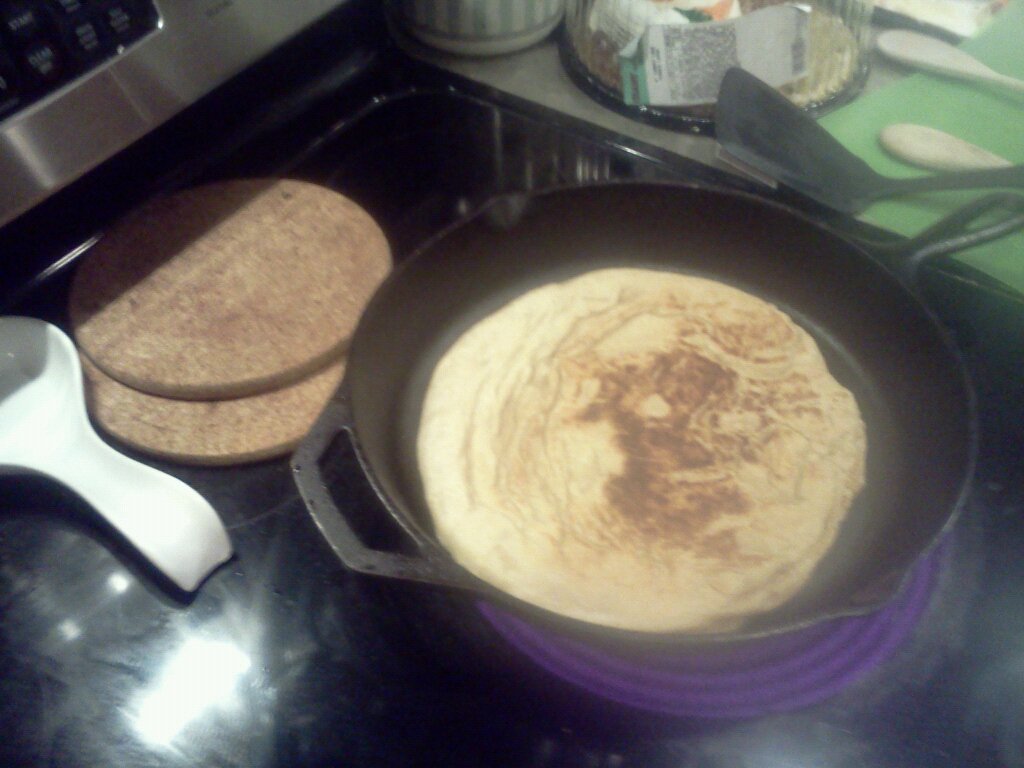 |
| Browned on one side, flipped and browning the other. Ready to make the pizza! |
 |
| Spreading sauce, sprinkling cheese. Yum! |
 |
| Pizza assembled (1/2 olives for me, 1/2 grilled squash for Hubby) and parbaking complete. Ready for the oven |
 |
| Voila! Finished product! If only I had smell-o-vision, you’re mouth would be watering… |

Leave a comment